Start with the Animal’s Path, Not a Default Mounting Height
A small-animal camera trap should be designed around the narrow space where the target is likely to pass. A knee-height setup that works for deer can leave a lizard, frog, mouse or large beetle as a few pixels at the bottom of the frame. Lowering the camera helps, but height alone does not solve the problem. The lens must be focused at the crossing point, and the trigger must cover that same point.
This guide focuses on capture geometry. For the network, power and processing choices around a larger deployment, use CamThink’s remote wildlife monitoring system design guide.
Before mounting hardware, define one target plane: the burrow entrance, drift fence gap, log edge, culvert floor or narrow trail where the animal is most likely to cross. That plane gives you a working distance for lens selection and a small area for a trigger test.
Choose Height and Angle from the Crossing Plane
For a small terrestrial animal, place the camera close enough to make the body useful for identification, but far enough to keep the full target inside the frame. A low, level view can work along a narrow trail. A downward view can work over a small clearing or controlled passage. The better choice is the one that produces a stable distance between lens and target.
Avoid pointing across a broad, open background when the target can pass anywhere. A wide trigger area creates many possible distances, so some animals will be sharp and others will not. Narrowing the physical route with an existing wall, log edge or drift fence is often more useful than increasing image resolution.
UF/IFAS guidance notes that targeted placement near a burrow, nest or other high-use structure can capture species that a standard trail setup misses. USGS research also found that conventional PIR systems can struggle with amphibians, reptiles and small mammals, especially when the animal is moving through a small part of the scene.
Match Focus Distance and Field of View
Focus distance decides whether the animal has useful detail. Field of view decides how much of the crossing zone appears in the image. A wider lens covers more area, but the target occupies fewer pixels. A narrower lens gives more detail at the same distance, but mounting error becomes less forgiving.
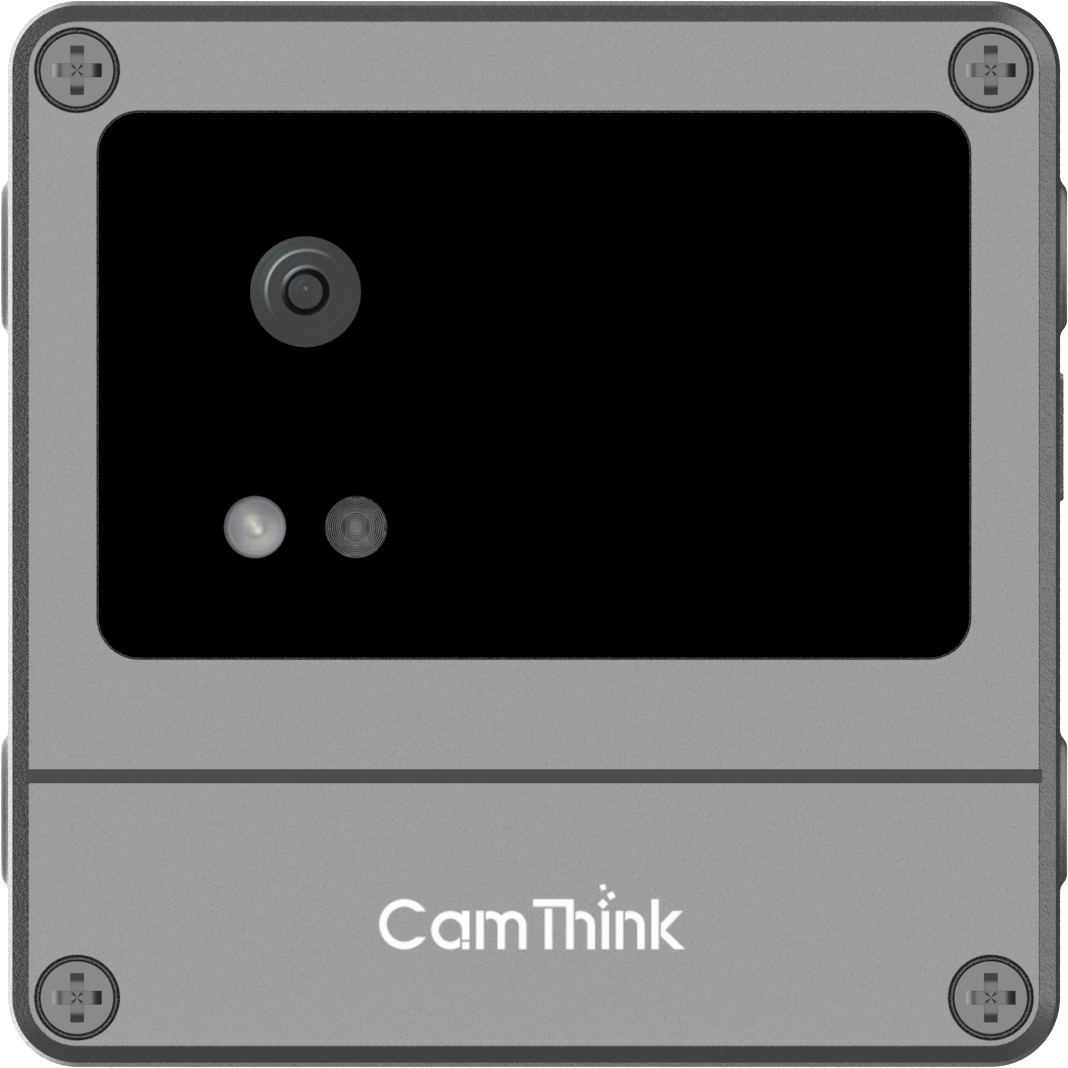
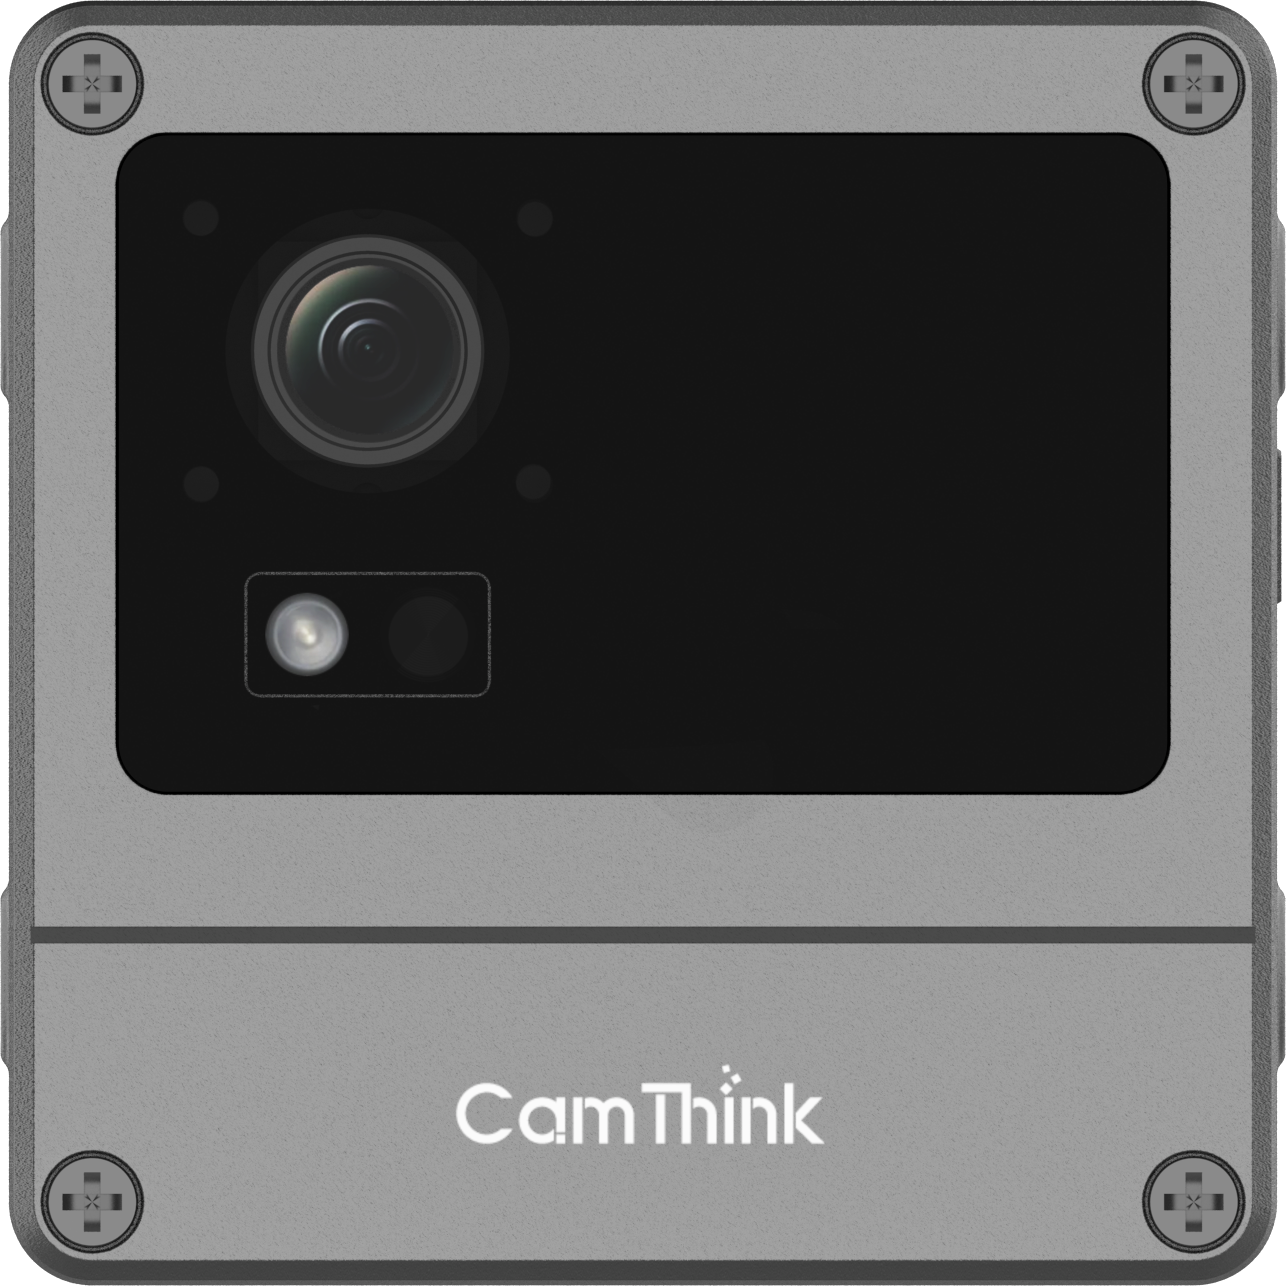
NE101 supports several camera-module choices. The OV5640 options most relevant to close work are 60 degrees with a 15 cm focus distance and 120 degrees with an 8 cm focus distance. Standard-distance options focus at 4 m or 3 m. These are fixed-focus choices, so select the module around the planned lens-to-target distance rather than expecting software to recover an out-of-focus subject.
| Scene | Useful starting point | Why |
|---|
| Narrow tunnel or drift-fence gap | 60 degrees / 15 cm | Keeps more pixels on a target crossing a controlled path |
| Very close clearing or broad entrance | 120 degrees / 8 cm | Covers a wider near-field zone when the path is less precise |
| Trail or structure several metres away | 60 degrees / 4 m or 120 degrees / 3 m | Matches a conventional stand-off distance |
The table is a setup starting point, not a promise of capture rate. Print or place a target at the expected animal height, then inspect edge sharpness and body size before leaving the site.
For a close-focus, low-power capture node, review the OV5640 lens and focus-distance options and the NE101 PIR trigger guide before choosing the camera module.
Put the Trigger Zone Inside the Sharp Zone
The useful trigger zone is smaller than the camera’s visible scene. PIR responds to changes in infrared energy across its sensing pattern. Small animals present less heat and may move below a sensor pattern designed around larger mammals. Sun-heated rocks, moving vegetation and rapid temperature changes can also create unwanted events.
Treat the trigger as a way to start capture, not as proof that every target will be detected. Aim the trigger across the most constrained part of the path and perform passes with an object at the target height. If PIR remains unreliable for a tiny or cold-bodied target, scheduled capture, a beam or contact trigger, or a controlled tunnel may be more dependable.
NE101 gives a field team a practical way to test PIR, scheduled capture and selected IO or contact-trigger options, with the interface configuration checked before deployment. NE301 fits when the same point also needs lightweight on-device filtering, but the animal-present model and threshold should be validated on the project dataset before they become field rules.
Select a Capture Mode That Fits Movement
Use a single image when targets pause in a predictable zone and storage or radio use must stay low. Use a short burst when the animal crosses quickly or the first frame often shows only part of the body. UF/IFAS notes that multiple images improve the chance of identifying fast animals, with a corresponding battery and storage cost.
Scheduled capture is useful when thermal contrast is weak, when the target remains in a small area for a predictable period, or when the research design needs regular samples rather than event-only records. Combining scheduled and triggered capture can reveal whether a trigger is missing animals, but it increases the review load.
Video is not automatically better. A short clip can show gait or interaction, but it raises active time, storage and transmission. Continuous video belongs to a different class of deployment with stable power and a fixed observation objective.
Verify the Setup Before the First Unattended Night
- Mark the expected crossing plane and place a target at the animal’s height.
- Capture a still image and inspect focus, body size and the frame edges.
- Move the target across the route at realistic speed and height.
- Repeat from both directions if the route is bidirectional.
- Remove grass or reflective objects that cause obvious false events without changing the habitat more than the study allows.
- Leave the camera for a short supervised trial, then review missed zones and empty images before a long deployment.
The result of this check should be a usable image, not merely a trigger count. If the body is sharp but too small, narrow the view or move closer. If the body is large but soft, change the focus distance. If the image is good only when the target is stationary, change the crossing angle or use a burst.
Troubleshoot the Failure Pattern
Missed animals near the bottom of the frame usually indicate a height or trigger-zone mismatch. Sharp backgrounds with soft animals indicate the wrong focus distance. Partial bodies at one edge suggest that the trigger fires too late for the direction of travel. Many empty frames often point to moving vegetation, heated surfaces or a trigger area wider than the actual route.
Do not try to solve every failure by increasing sensitivity. That can create more empty images without improving small-target capture. Change one variable at a time and keep a record of height, lens, target distance, trigger method and capture mode.
Frequently Asked Questions
How low should a camera trap be for small mammals?
Mount it relative to the expected body height and crossing plane. A ground-level or low view is often better than the roughly 50 cm standard setup used for a broad mix of larger wildlife, but the correct height keeps the target inside both the lens focus zone and trigger zone.
Is PIR reliable for reptiles and amphibians?
It can work in some conditions, but small body size and weak thermal contrast can reduce reliability. USGS research developed an active trigger approach because ordinary PIR camera traps struggled with these groups. Test PIR against a scheduled or controlled-trigger reference before relying on it for detection probability.
Should I use a wide-angle lens?
Use wide angle when the path is uncertain or the camera must sit very close. Use a narrower field of view when the path is controlled and species identification needs more pixels on the animal.
Which CamThink camera is the starting point?
NE101 is the direct fit for low-power close-focus image capture and flexible triggers. NE301 is the next step when the camera also needs local lightweight AI filtering. Start with target distance, trigger method and required output rather than resolution alone.
Build the First Pilot Around One Repeatable Crossing
A good small-animal pilot does not need a large site. One repeatable path is enough to prove the lens, height and trigger geometry. Once the images are consistently identifiable, the same recorded setup can be replicated across more points and connected to the wider wildlife monitoring system.