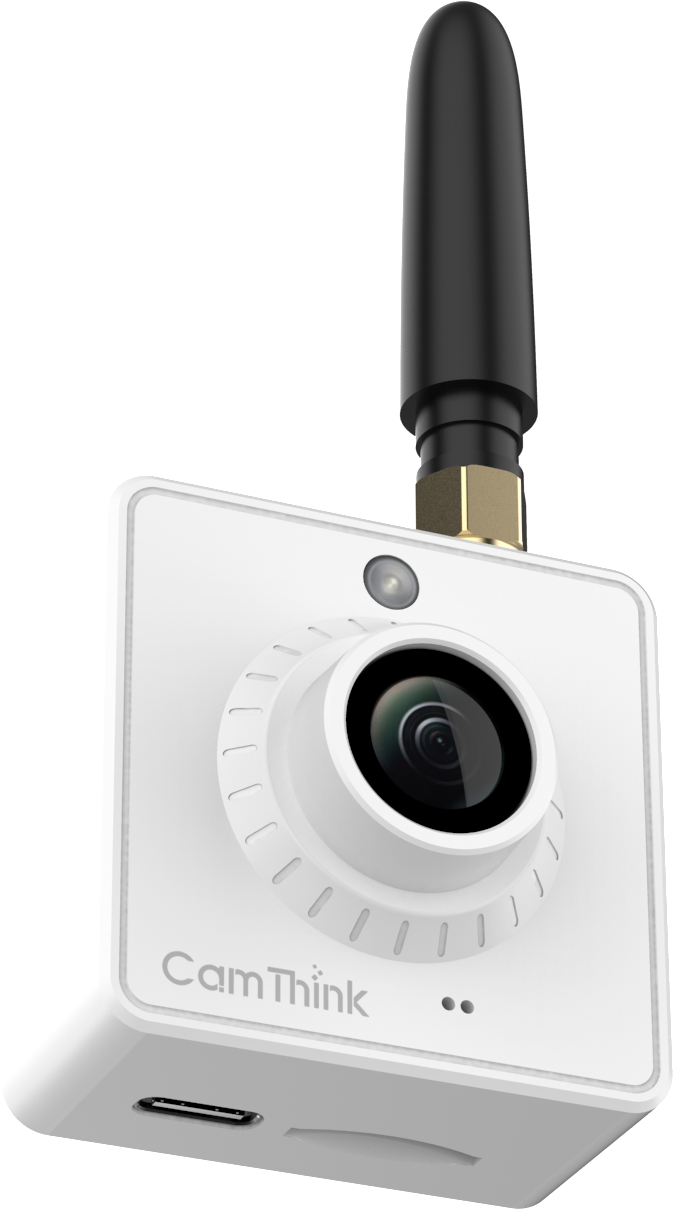
Why does lens selection matter for NE101 meter reading?
Lens selection matters because meter reading depends on usable image detail, not just whether the meter appears in the frame. If the digits, dial, or gauge scale are too small, blurred, overexposed, or distorted, the captured image may fail OCR or require manual review.
NE101 is often used as a low-power visual sensing node. It can capture images on schedule or trigger, then send image evidence and metadata into a customer platform, OCR workflow, or remote review process. In this architecture, the lens is not a small accessory. It directly affects whether the first image entering the pipeline is usable.
For low-power camera nodes, a poor lens choice cannot always be fixed later in software. If the reading area is outside the focus range or too small inside a wide-angle image, software enhancement has limited value.
What makes meter reading different from general monitoring?
Meter reading is a fixed-detail capture task, while general monitoring is usually a scene-awareness task. A site monitoring camera may only need to show whether a cabinet door is open, whether a person is present, or whether an area changed. A meter reading camera must preserve small characters, pointer positions, or scale markings.
| Use Case | Lens Priority | Reason |
|---|
| Meter reading | Narrower FOV, correct focus, stable lighting | Digits or dials need enough pixel detail for OCR or review. |
| Gauge inspection | Focus distance and viewing angle | Pointer position and scale marks must remain readable. |
| Panel status capture | Balanced FOV | The image may need both indicator detail and cabinet context. |
| Site overview | Wider FOV | Scene coverage matters more than small text clarity. |
This is why a lens that works well for outdoor monitoring may be the wrong choice for meter reading. A wide view can help capture context, but it can also make the actual reading area too small.
Which lens factors should you evaluate before choosing a camera module?
Start from the target, not from the lens specification. Define what must be readable, from what distance, under what lighting condition, and whether the image will be processed by OCR, reviewed by an operator, or stored as visual evidence.
Target sizeHow much of the final image should the meter face, digit window, or gauge scale occupy?
Capture distanceMeasure the real distance from the lens to the meter, not the cabinet depth or estimated mounting distance.
Field of viewDecide whether one target, multiple meters, or a full panel needs to be captured.
Focus distanceConfirm that the target falls inside the module’s clear focusing range.
LightingTest daylight, shadow, cabinet interior, night capture, and front fill light conditions.
Viewing angleKeep the camera as close to perpendicular as practical to reduce glare and perspective distortion.
Rule of thumb: choose the NE101 lens by the image task. For meter reading, the right module is the one that makes the reading area consistently clear at the real installation distance and lighting condition.
How do FOV and focus distance affect meter reading accuracy?
FOV controls how much scene enters the image, while focus distance controls whether the target area is sharp at the mounting distance. For OCR-ready meter reading, both must be evaluated together.
A wider FOV can capture more context, multiple meters, or a full equipment panel. But if the meter face occupies only a small portion of the image, the reading area may not have enough pixel detail. A narrower FOV usually gives the target more image area, which can help when the camera is mounted farther from a fixed meter.
Focus distance is just as important. A lens designed for a farther target may not capture a close-up meter clearly, and a close-focus configuration may not work for a meter mounted several meters away. In field deployments, this is often where desktop tests become misleading.
Evaluating NE101 for meter reading?
Share your target distance, meter photo, and lighting condition. CamThink can help review which camera module configuration is more suitable for your test.
Talk to Our Team
How should lighting and fill light influence lens selection?
Lighting should be tested with the selected lens, not treated as a separate problem. Meter reading scenes often include shadowed cabinets, outdoor light changes, reflective glass covers, curved meter windows, and night capture requirements.
Front fill light can improve image consistency, especially inside cabinets or low-light areas. But it can also create glare on glass-covered meters if the camera is too close or mounted at a reflective angle. A lens that looks sharp in office light may perform differently when fill light reflects from a meter cover.
For NE101 projects, test the lens with the real capture schedule, expected exposure behavior, and fill light setting. The goal is not to create a visually attractive photo. The goal is to produce a stable image that your OCR pipeline or remote operator can reliably interpret.
Good testCamera installed at real distance, cabinet closed, fill light on/off, day/night samples captured.
Risky testModule tested on a desk under office lighting with the target held by hand.
Which NE101 camera module should you choose: OV5640 or USB Camera Module?
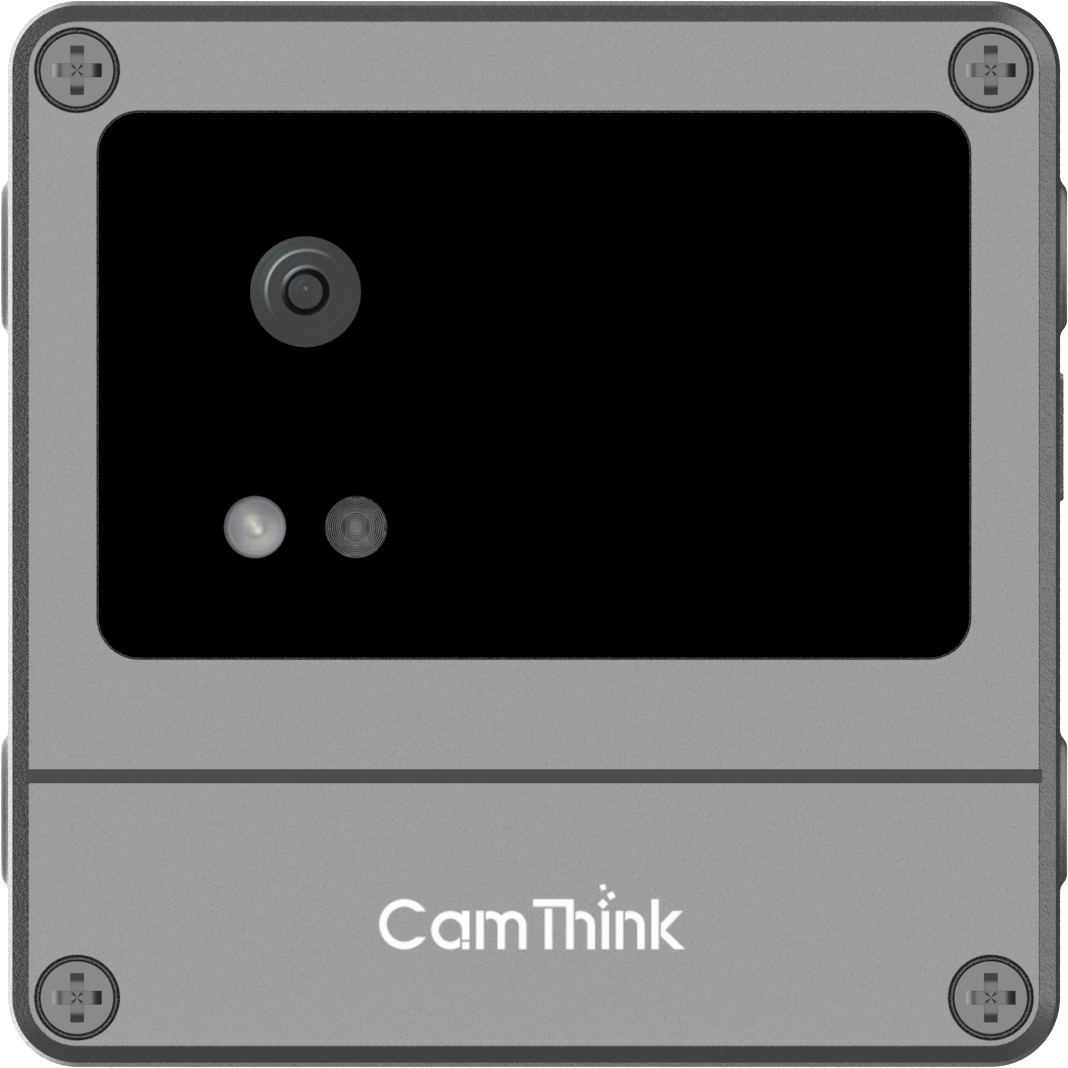
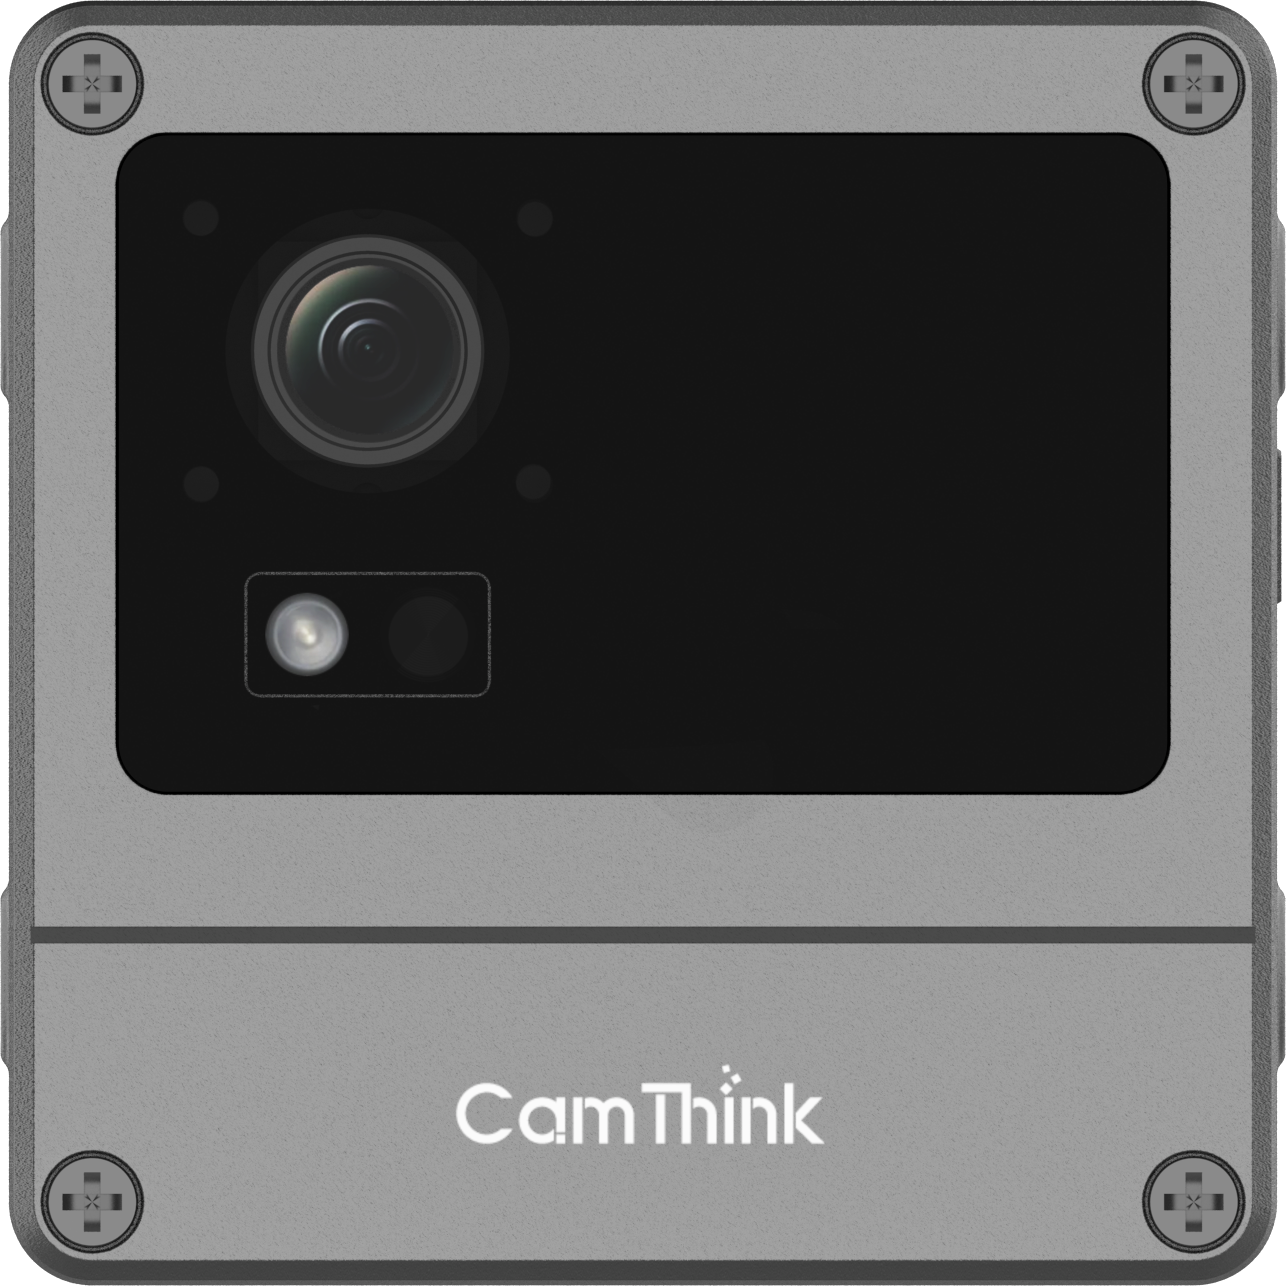
OV5640 and the USB Camera Module solve different imaging problems; the right choice depends on scene geometry and image-quality requirements. Do not choose only by price, resolution, or FOV. Choose by the target distance, reading area size, lighting condition, and integration method.
OV5640
Choose OV5640 when:
- Cost-sensitive evaluation and fixed-distance capture
- Close-up meter setups with controlled lighting
- Embedded vision tests and standard deployments
- Projects with predictable installation distances
Key configuration: 5MP output, 60° or 120° FOV, model-dependent close-up (15cm) and longer-range (4m) focusing options
Watch out: Pre-set lens configurations mean the selected focusing distance should match the real installation distance
USB Camera
Choose USB Camera when:
- More controlled imaging tests with varied lighting
- Projects needing ISP support and image processing
- Different mounting distances and flexible focus requirements
- Demanding field tests requiring image quality optimization
Key configuration: SC200AI sensor, independent ISP, adjustable focus, glass lens optics, 51° / 88° / 137° HFOV options
Watch out: Higher imaging flexibility still requires real-site validation for glare, target size, and focus
For early meter reading evaluation, OV5640 may be enough when the distance and lighting are controlled. For more demanding field tests, the USB Camera Module provides more imaging flexibility through independent ISP processing, adjustable focus, and multiple HFOV choices.
How should you choose a lens for common meter reading setups?
Use the physical installation scenario to narrow the module choice before comparing product specifications. Most lens mistakes happen when teams choose a wide FOV for safety, then discover the reading area is too small for OCR.
Single meter, fixed distancePrioritize a focused view that makes the reading window large and clear. A narrower FOV is often more useful than a wide scene view.
Recommended: OV5640 60° FOV, 4m focus for standard distance (1-4m); or USB Camera 51° FOV, 4m focus for larger targets.
Multiple meters on one panelUse a wider or medium FOV only if each reading area remains large enough. Sometimes multiple NE101 nodes are better than one ultra-wide image.
Recommended: USB Camera 88° FOV, 3m focus for balanced coverage; or OV5640 120° FOV, 3m focus if meters are close.
Close-up cabinet capturePrioritize close-focus configuration and fill light control. Check glare from glass covers and reflective labels.
Recommended: OV5640 60° FOV, 15cm focus for macro capture; or OV5640 120° FOV, 8cm focus for tighter spaces.
Outdoor utility pointPrioritize lighting tolerance, mounting stability, and real-site samples across daylight, shadow, and night conditions.
Recommended: OV5640 60° FOV, 4m focus for reliable imaging; or USB Camera 51° FOV, 4m focus for better ISP processing.
If the meter distance, lighting, or enclosure design is not fixed yet, evaluate two lens configurations before deployment. This is cheaper than redesigning the bracket or replacing modules after installation.
What should you test before final deployment?
Before final deployment, test the image as the system will actually use it. A sample image should be validated by the OCR model, review workflow, storage format, or customer platform that will receive the NE101 output.
Image detailIs the reading area large enough after upload, compression, or cropping?
FocusIs the target sharp at the actual mounting distance?
LightingDoes fill light improve clarity or create glare?
AngleDoes the mounting angle distort digits, dials, or pointer positions?
RepeatabilityDo images remain usable across multiple capture times?
System outputCan your MQTT, HTTP, FTP, OCR, or review workflow use the captured image reliably?
What is the recommended evaluation path for NE101 lens selection?
The safest evaluation path is to define the capture task first, then test one or two module configurations under real conditions. This keeps the lens decision tied to deployment reality instead of abstract optical specifications.
1
Define the target.Identify the meter type, digit size, dial layout, glass cover, expected OCR field, and required image evidence.
2
Measure the installation distance.Use the actual lens-to-target distance. Cabinet depth, pole distance, or estimated drawing dimensions are not enough.
3
Select candidate modules.Use OV5640 for simpler fixed-distance tests and the USB Camera Module when more imaging control is needed.
4
Test real lighting.Capture samples with daylight, shadow, cabinet lighting, front fill light, and night conditions if relevant.
5
Validate the output.Run images through the OCR, AI, storage, or review workflow that will be used in deployment.
6
Finalize the configuration.Confirm the lens, bracket, fill light behavior, capture schedule, and transmission path before scaling.
Lens selection is part of the system design
For NE101 deployments, camera module selection should happen after the capture task is defined. Meter reading, gauge inspection, and remote visual records all depend on the same principle: the image must be usable at the target distance, under the real lighting condition, and within the system’s power and data constraints.
Choose the NE101 lens by the image task, not by the lens spec. The right module is the one that makes the reading area consistently clear for the workflow that follows.
HH
Author: Harry Hua
CamThink Technical Director · 10+ years in technical solution architecture and edge AI hardware integration. Harry works with system integrators and OEM teams evaluating low-power visual sensing, camera modules, edge AI hardware, and real-world deployment constraints.
Connect on LinkedIn
FAQ: NE101 lens selection
Is a wider FOV better for meter reading?
No. A wider FOV captures more scene context, but it can make the meter reading area too small. For meter reading, the reading window must be large and sharp enough for OCR or manual review.
Should I choose OV5640 or the USB Camera Module first?
Start with the target distance and lighting. OV5640 is a practical option for simpler fixed-distance tests. The USB Camera Module is better when you need more imaging flexibility, independent ISP support, adjustable focus, or multiple HFOV choices.
Can fill light solve blurry meter images?
No. Fill light can improve brightness and consistency, but it cannot fix an incorrect focus distance or a target that is too small in the image. Test lighting together with FOV, focus, and mounting angle.
Does NE101 provide a complete meter OCR solution?
NE101 provides the visual capture hardware layer. The OCR, validation workflow, dashboard, or customer platform can run separately depending on the project architecture.
How many samples should I capture before finalizing the lens?
Capture samples across the actual lighting and schedule conditions: day, night, shadow, cabinet closed, fill light on, and fill light off. Use those images to validate OCR or review quality before scaling.
Can NE101 send images into my existing platform?
NE101 projects are typically evaluated as part of an open visual sensing architecture. Image and metadata output can be integrated with customer-side workflows depending on firmware, connectivity, and project configuration.
Need help choosing the right NE101 lens configuration?
Send us your meter photo, expected mounting distance, lighting condition, and whether the image is for OCR or remote review. We can help you evaluate which NE101 camera module configuration is the better starting point.